
Issue
ImunifyAV installation on the server with ISPmanager.
Environment
- ImunifyAV stand-alone
- ISPmanager
- Any supported OS
Solution
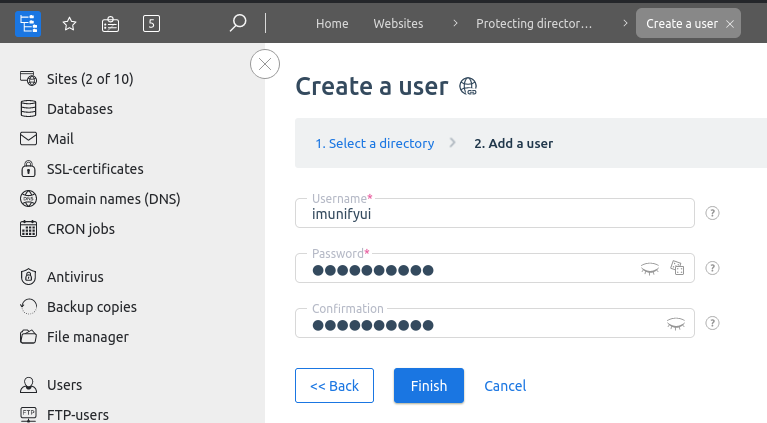
1. Create a separate user, which will become the owner of the ImunifyAV UI files. In the example below it is imunifyui.

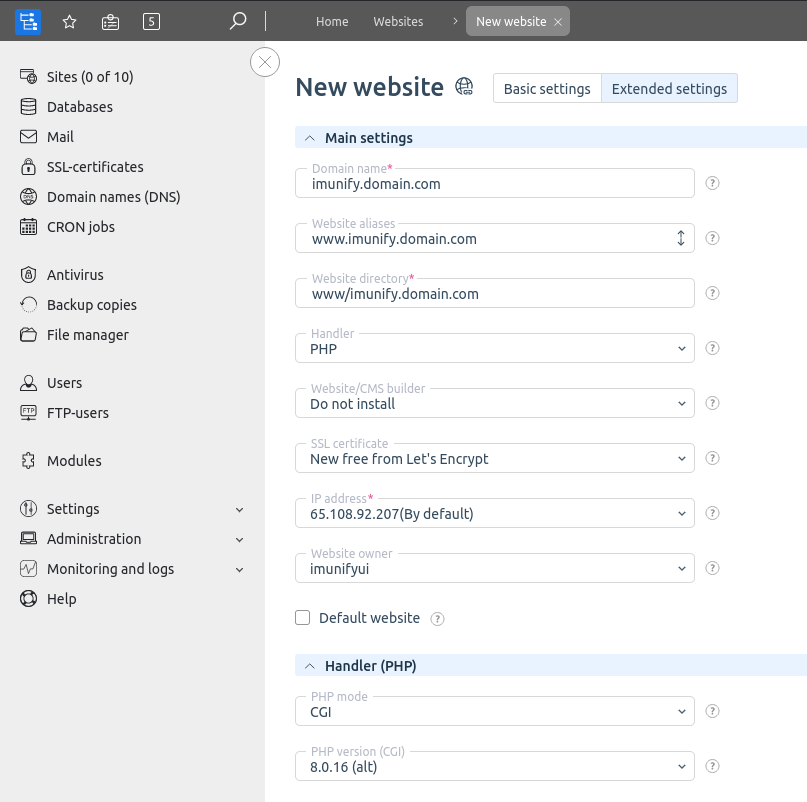
2. Create a separate subdomain, which owner will be the previously created user. In the example below it is imunify.domain.com. As a webserver and handler for PHP, choose Apache and CGI, or another handler that is configured and suitable for you. The domain configuration process will create a directory on the server with the following full path: /var/www/imunifyui/data/www/imunify.domain.com
3. Create a configuration file /etc/sysconfig/imunify360/integration.conf that will provide integration with ImunifyAV, the configuration file should include the full path to the domain directory, and the user that owns the files. An example configuration file below:
# cat /etc/sysconfig/imunify360/integration.conf
[paths]
ui_path = /var/www/imunifyui/data/www/imunify.domain.com
ui_path_owner = imunifyui:imunifyui

[pam]
service_name = system-auth
4. Perform the installation of ImunifyAV on the server:
# wget https://repo.imunify360.cloudlinux.com/defence360/imav-deploy.sh -O imav-deploy.sh
# bash imav-deploy.sh
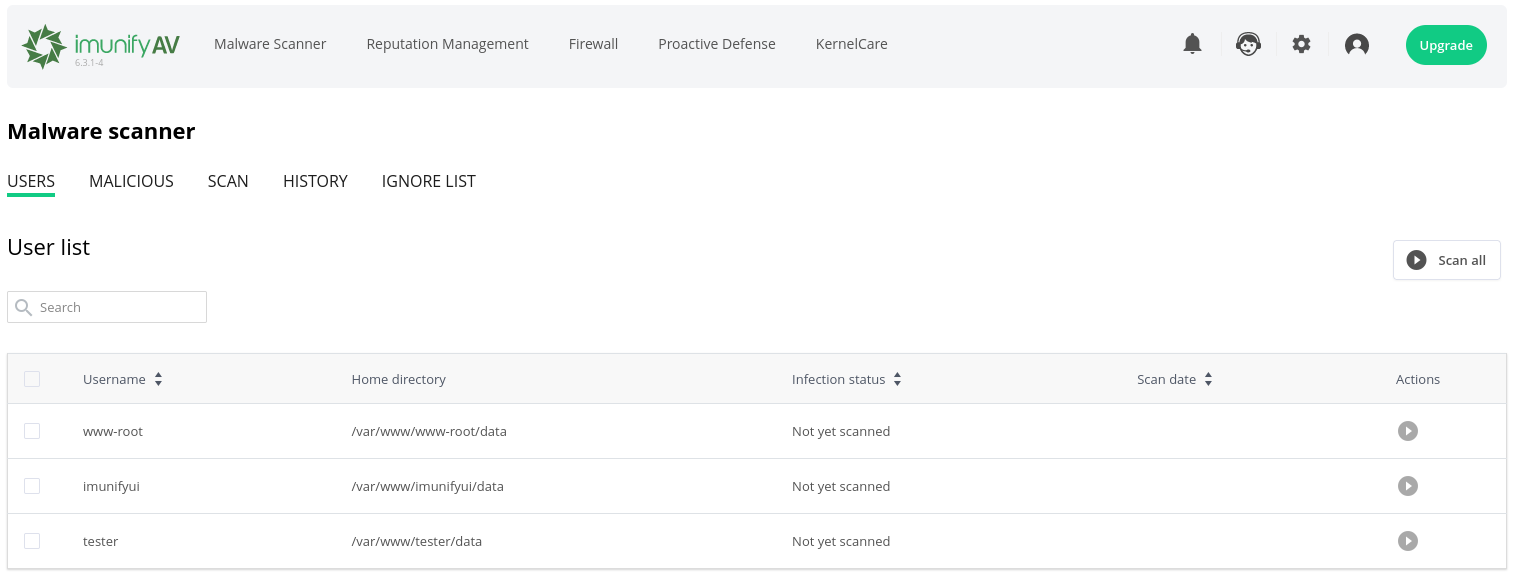
5. Once installed, the ImunifyAV UI will be available on the previously created domain. To authorize in the panel, it is sufficient to use the root account and the appropriate password.
6. Access to Imunify UI can additionally be protected by authorization. To do that, enable the corresponding option in ISPmanager.
7. If an activation key is available, register the ImunifyAV installation to get the ImunifyAV+ functionality by using the command:
# imunify-antivirus register IMAV123abc456cba321
Useful links
Comments
0 comments
Article is closed for comments.